How to Create an Encrypted Disk Image
So Why Use Encrypted Disk Images?
Cloud platforms are convenient, thanks to the ability to upload and access data from any device anywhere with an internet connection. However, the downside is that our data is stored on someone else's machine.An encrypted disk image with a strong password will help protect your data when it's off your machine. If I were a malicious actor with access to Dropbox, my first targets would be larger companies and more well-known users. I would still script to grab anything of value from accounts, but with that much information, I wouldn't spend a lot of time on brute-forcing encrypted images. But I would definitely pick up anything of value in the clear from random users.
Previously: How to Enable Full Disk Encryption to Protect Your Data
Step 1Open Disk Utility
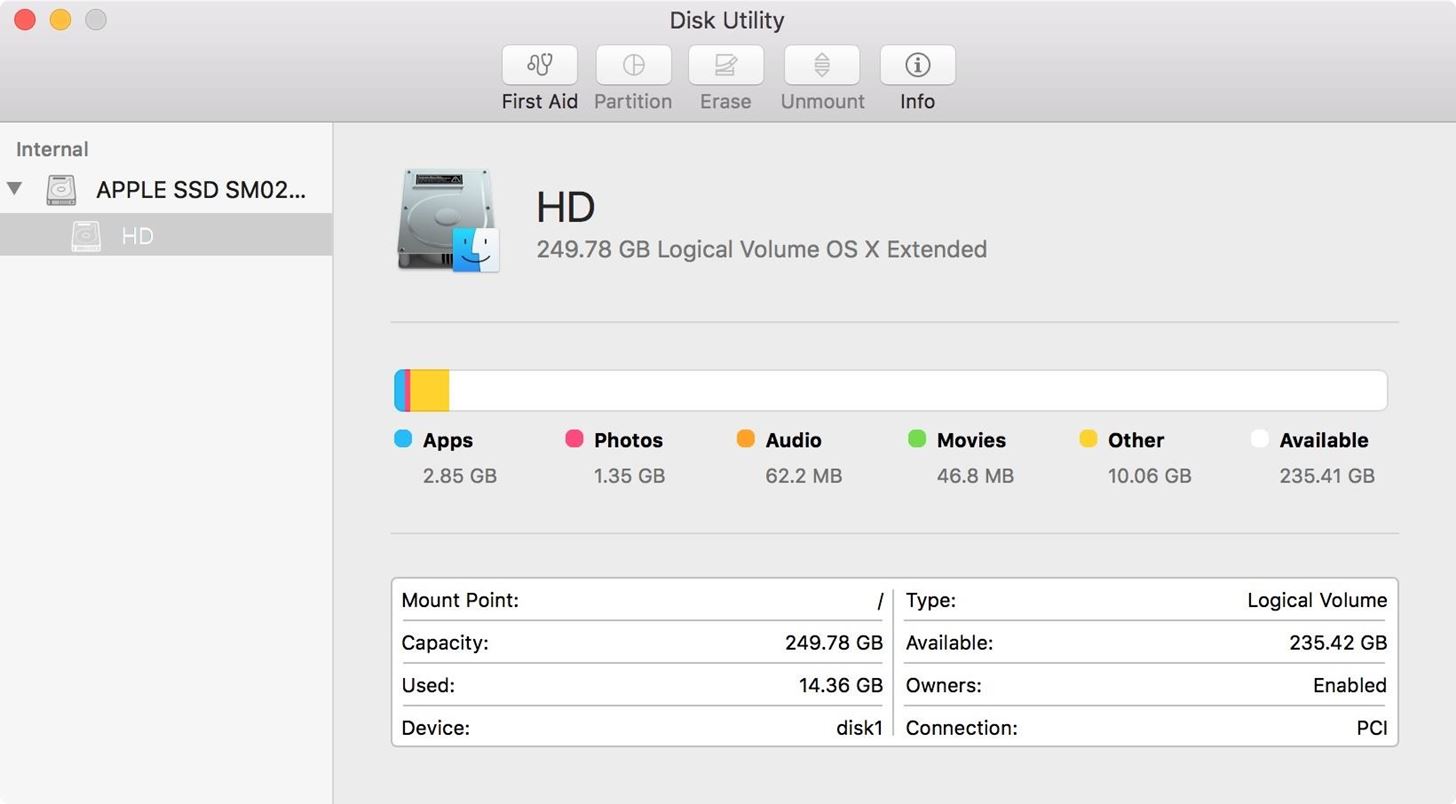
Our first step is to open Disk Utility, which is located in your Applications folder. I prefer to use Spotlight, so just press Command Spacebar and type in Disk Utility. If you want to go the more geeky route, you can use the following Terminal command.- open /Applications/Utilities/Disk\ Utility.app
Step 2Set Your Disk Image Options
At this point, you are presented with many options:- Save As: The name you want for your encrypted disk image. I chose myEncryptedImage.
- Tags: I just left it blank. If you want tags, go ahead.
- Where: I put mine on the Desktop, but put yours wherever you want.
- Name: This is the name of the image when it's actually mounted.
- Size: Select a size, I left the default 100 MB.
- Format: If you aren't happy with the standard OS X Extended (Journaled) file system type, you can pick a new one here.
- Encryption: I went with the default 128-bit. If you need 256 for stronger encryption, it is available. You will be prompted to enter and verify a password—make sure it is a strong password.
- Partitions: I left the default single partition GUID scheme.
- Image Format: I selected read and write.
Don't Miss: Advice from a Real Hacker: How to Create Stronger Passwords
Step 3Add a File
You now have an encrypted disk image. If it didn't mount already as a device, double-click on it to do so. Then, to verify that it is working properly, simply add a file, and then eject the disk. I used the following command in Terminal:- touch /Volumes/myEncryptedImage/testfile
Step 4Eject the Disk
When you are finished using the image, simply eject it. Now the image file is unmounted and the data is safely protected behind your strong password.That's it—you have successfully created an encrypted disk image to protect your confidential data. While I mainly use these in the cloud, you may find other uses for them. They're helpful anywhere you are worried about your data being accessed by the public, or viewed by unauthorized individuals. Even if you don't think your data is sensitive, I would use encrypted images simply to keep cloud services from indexing your data or poking their nose into what you're doing. It's really none of their business.


Comments
Post a Comment